
Services are the backbone of your business, letting clients book appointments with you or your employees. This section will show you how to create and manage services within the Bookablesites booking system.
Creating Categories
When your account was initialized, Bookablesites added sample services and placed them in the Default Category so you’d have a starting point. Although you cannot delete this category, you can rename it by opening the category’s menu (the three-dot icon) on the Category bar and selecting “Edit Category.”
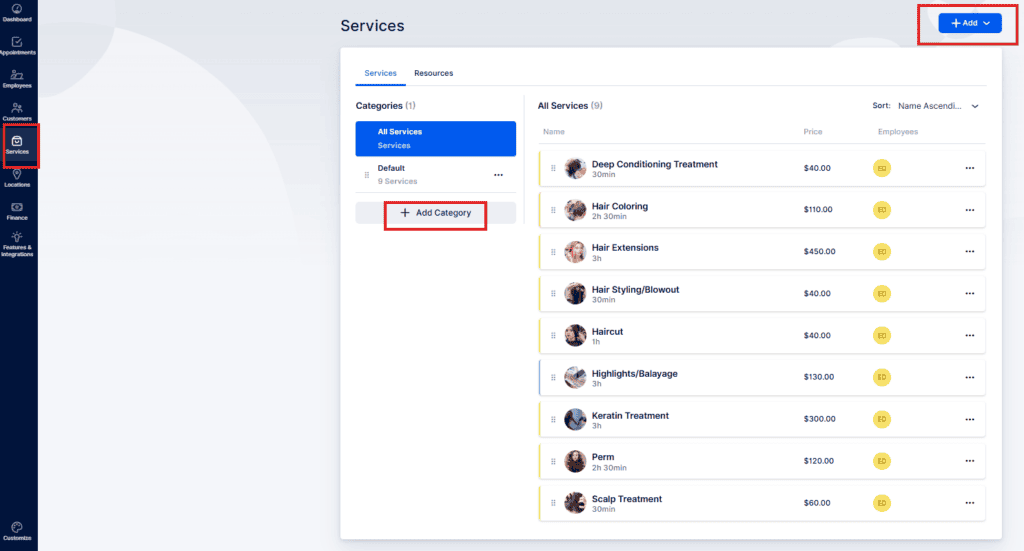
To add a new category, click “+ Add Category” on the left side of the screen just below the Default category (see screenshot). Type the category name into the field and press the “Add Category” button to include it in the left-hand list.

You can rearrange categories by dragging the handle beside each one. The order you set here controls how categories appear on the Booking Website. Each category has a three-dot menu with these choices:
- Edit Category: Change the category name.
- Share Category: Share the booking form with that category preselected.
- Delete Category: Remove the category (the Default category cannot be deleted).
The “Share Booking” option enables you to share this specific category with your customers. Clicking on it will provide several sharing options:
- Share Link: a direct URL to the category.
- Embed Code: HTML snippet to embed the category on a site.
- QR Code: Scannable code for quick access.
- Email: Send the category link by email.
- Social Media Post: Share the category on social networks.
When sharing, you can opt to share the whole category or narrow the share to specific services, employees, locations, date ranges, or time slots.
Please Note: if every service in a category is hidden, you cannot share that category. You can share an individual hidden service manually, but sharing is not available for a category where all contained services are hidden.
Creating Services
To create a new service, click the “+ Add Service” button in the top-right corner. A popup window will appear where you can fill in the new service details.
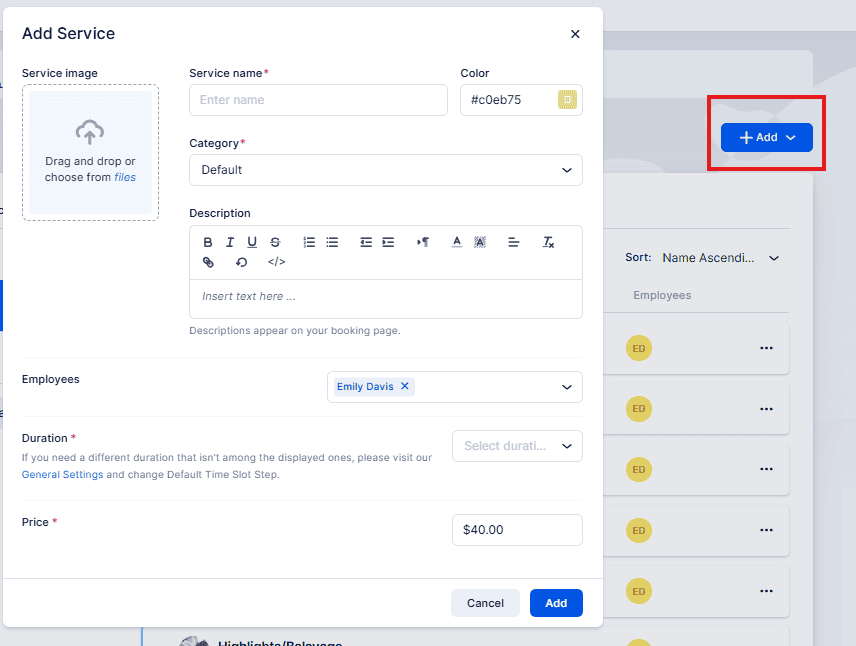
In this modal for creating a new service, you can set up all the information customers will see for this offering on your Booking Website:
- Service image: Upload the main photo for the service. It appears on the Services page in the admin dashboard and on the Booking Website to help customers recognize the service. Click inside the image box to browse files or drag-and-drop an image into it.
- Service name: A required field — the service cannot be saved without a name.
- Color: Pick a color for the service avatar. This color shows on the admin service list and on the Booking Website if no photo is uploaded. Click the color swatch to open a picker, or enter a HEX or RGB value.
- Category: Choose which category will contain this service. This is required — a service must belong to one category and cannot be assigned to multiple categories. To place the same service in another category, duplicate it and move the copy.
- Description: A text area to explain the service. Short names (e.g., “Men’s Haircut”) may need little detail, but adding information here helps customers understand what they’re booking. The description appears after a customer clicks “Learn More” on the Booking Website.
- Employees: Select the staff members who can provide this service. While not strictly required in the form, at least one assigned employee is needed for the service to be available for booking on the Booking Website.
- Duration: Define the duration of the service. The available time slots will depend on the Default Time Slot Step set in the General Settings. if the desired start-times aren’t shown, adjust the Default Time Slot Step there.
- Price: TThis field is required, but you can enter $0.00 for free services. Currency formatting (symbol placement, decimals, separators) follows Settings → Payments. Bookablesites does not automatically convert values between currencies: if you change the currency later, the numeric amount will remain the same but will be displayed using the new currency formatting.
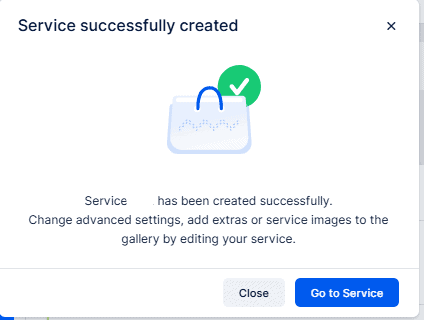
In Bookablesites, after you save a service you can click “Close” to return to the Service List. Or choose “Go to Service” to open that service’s detail page and adjust additional settings.
You can also reach the service page by opening the three-dots menu beside the service and selecting “Edit Service.”
When you open the editor for a service, four menu items appear on the left:
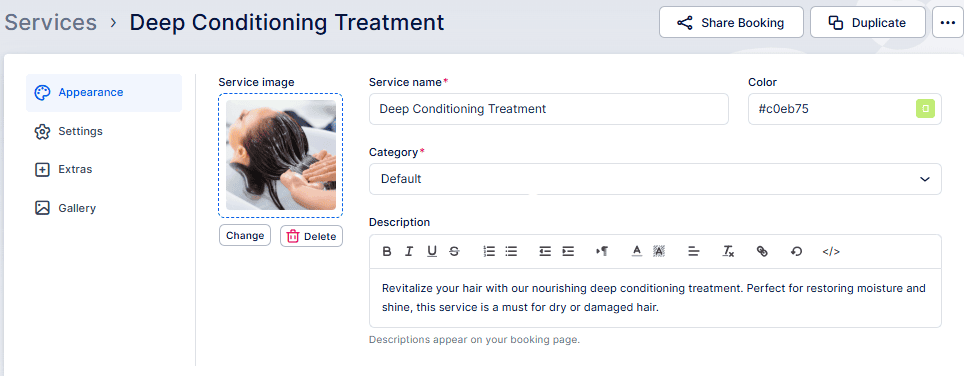
Appearance – This tab contains the visual options you set when creating the service. Use it to update the service image, color, name or description if you want to change how the service looks on the Booking Website.
Settings – This tab holds additional configuration for the service:
- Employees: Select which staff members can provide this service.
- Where do you want to provide the service: Choose whether the service is offered Online, On-Site, or at All Locations. To offer the service online you must have at least one online meeting integration configured (for example Zoom or Google Meet). The actual physical location used for a booking is determined by the employee’s assigned location (their Default Location by default), though employees can be scheduled at different locations via their Working Hours or Special Days.
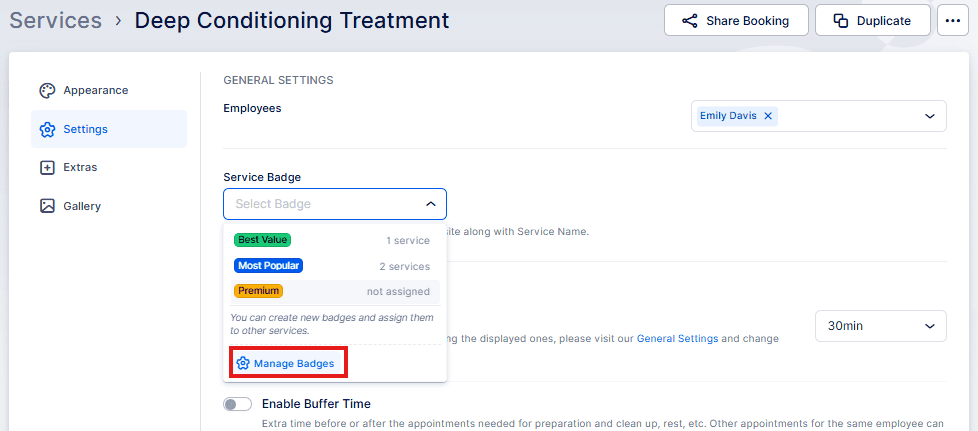
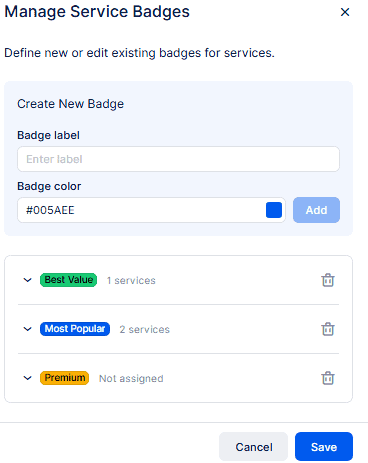
- Service Badge: Assign a badge to highlight the service (examples include Best Value, Most Popular, Premium). Click Manage Badges to add, edit, or remove badges.
- Duration – This is the duration you configured when you created the service, but you can change it here if needed.
- Enable Buffer Time – Turn this on to add Buffer Time Before and Buffer Time After. These add prep and wrap-up time to the appointment and will show on the admin calendar (customers do not see buffer time). Buffer time is added to the appointment length and reduces available start slots — for example a 1-hour service with 30 minutes total buffer occupies 1.5 hours.
- Buffer Time Before: This allows your employee to prepare for the appointment.
- Buffer Time After: This gives the employee additional time needed to rest or clean up after the appointment.

- Price – Edit the service price when you created the service, but you can change it here if needed.
- Tax – By default, Bookablesites does not have any taxes configured. When you expand the “Select Tax” drop-down, it will show “No Data.” To add taxes, you need to access the Finance menu item on the left and then navigate to “Taxes.” After adding taxes, you can select the appropriate tax when editing the service.
- Payment Method – If you have at least one online payment method connected and haven’t disabled On-Site payments in Payment Settings, choose whether this service accepts Online, On-Site, or All payment types.
- Enable deposit payments – Disabled until you add at least one online payment method.
- This is a private service – Enable this to hide the service from the Booking Website. It remains bookable internally from the Appointments page and can be shared via a direct link generated from the Share Booking option in the Bookablesites back end; access via that link will allow customers to see the service on the booking site.
- Enable recurring appointments – Enable recurring bookings and configure frequency (daily, weekly, monthly), minimum and maximum number of recurrences, payment handling for recurring bookings, and how unavailable recurring dates/times are treated.

If the minimum number of appointments is set to 0, customers can book a one-time appointment instead of a recurring one.
- Redirect URL after a successful booking – Activating this feature enables you to designate a URL where clients will be directed after completing an appointment booking successfully. This can be configured separately for each service. If activated in Service Settings, it will take precedence over the Redirect URL established in the Customize area.
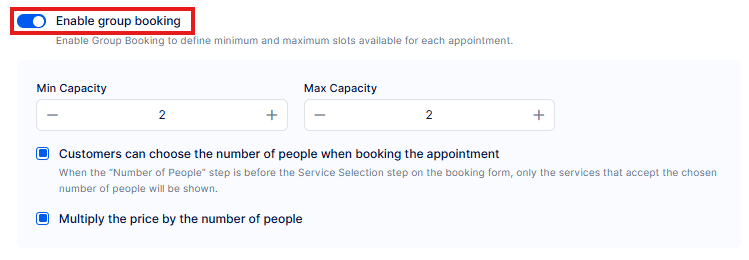
- Enable group booking – Turning on this feature reveals two extra settings: Min Capacity and Max Capacity. Here, you establish the minimum and maximum capacity for the service. By default, both values are configured to “1,” indicating appointments can be scheduled for one person only, without allowing multiple clients to reserve the same appointment. Once the Max Capacity is configured to any number above 1, two new features will appear:
- Customers can choose the number of people when booking the appointment – This permits your clients to choose how many people they are booking for. If this is deactivated, they will only be able to schedule for themselves.
- Multiply the price by the number of people – By default, the service price determines the appointment cost, but if you activate this feature, the service price will be increased by the number of people.
- You can establish the capacity for the complete service and implement it to all assigned staff members. However, you can also configure different capacities for each staff member, as detailed on our Employees page.
- If you want multiple clients to schedule the same appointment until the maximum capacity is met, you’ll also need to navigate to the Features & Integrations area and the Group Booking card. There, activate the toggle in the popup window that appears. With this capability activated, multiple clients will be able to schedule the appointment until the maximum capacity is met. For additional information about this functionality, please use the hyperlink above and review the detailed explanation of this feature.
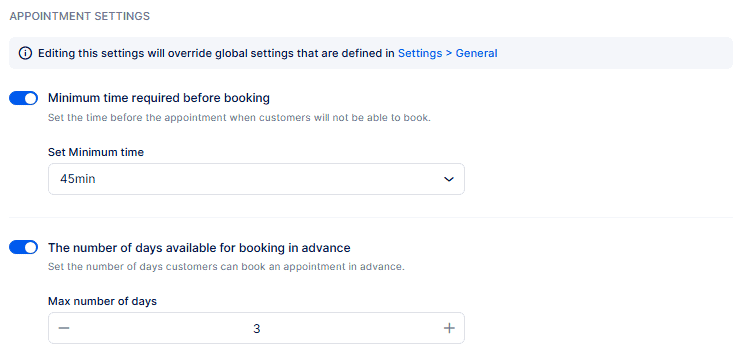
- Appointment Settings includes two features that you’ve already seen in Bookablesites’ General Settings:
- Minimum Time Required Before BookingNumber of Days Available for Booking in Advance
- For instance, if the minimum time required before booking for all services is 1 day, you might want to modify a particular service to require 7 days’ notice or any other timeframe that meets your needs.
- Similarly, the number of days available for booking in advance is usually configured to 365 days by default. However, for specific services, you can modify this to provide a different period available for booking in advance. This adaptability ensures that each service can have its distinct booking requirements customized to its particular needs.
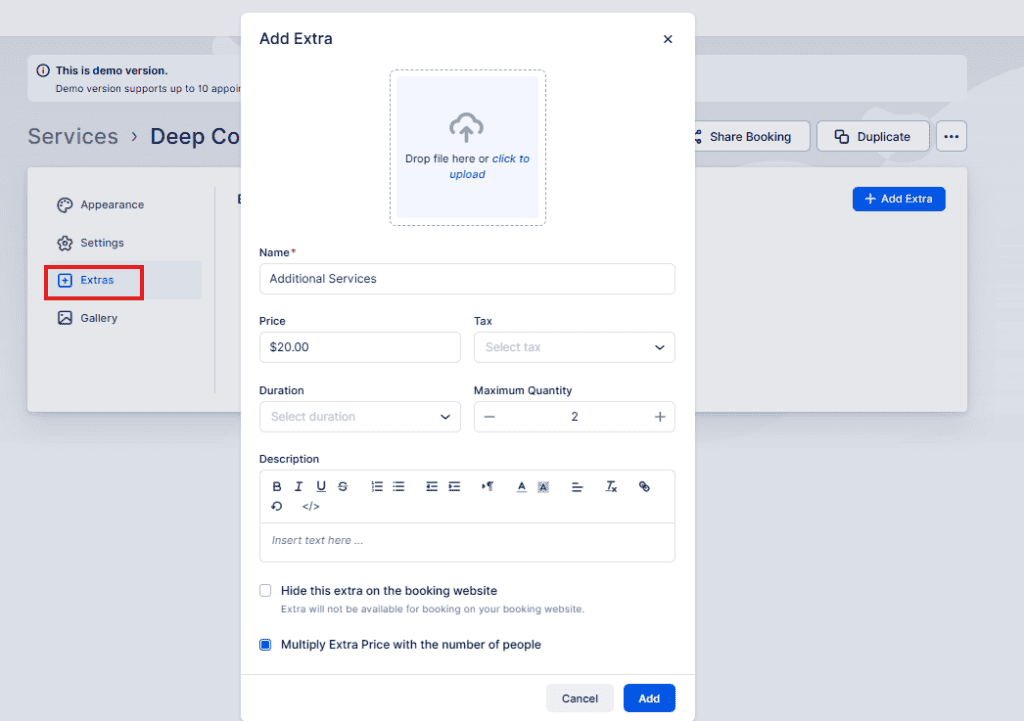
Extras – This section allows you to improve your services with supplementary offerings, known as extras. These extras ccan function as upsells, providing clients with extra options to improve their booking experience. For example, a barber might provide “Beard Oil” as an add-on that clients can include in their appointment when scheduling.
When modifying an Add-on, you have the following features:
- Picture: Upload an image to represent the extra.
- Name: Define the name of the extra.
- Price: Set the additional price for the extra.
- Tax: Apply tax to the extra if applicable.
- Duration: Specify the duration or time associated with the extra.
- Maximum Quantity: Define the quantity of the extra that a customer can purchase.
- Description: Add a description to provide more details about the extra.
- Hide this extra on the Booking Website: Choose whether to conceal this extra from the Booking Website.
- Multiply Extra with the Number of People: Select this feature if the cost of the add-on should be increased by the number of people scheduling the service (applicable for Group services).
Gallery – The Gallery section enables you to display images associated with the service. This functions as a photo collection for your website, presenting relevant visuals that illustrate the service. You can upload different images such as:
- Pictures of your offices or workspace.
- Photos of your employees providing the service.
- Images showing the processes performed during the appointment.
- Visuals related to the industry or service type being provided.
Uploaded photos will be displayed as a carousel on the booking page, providing an attractive visual method to present your service. This creates an engaging visual approach to demonstrate what clients can anticipate from the service.