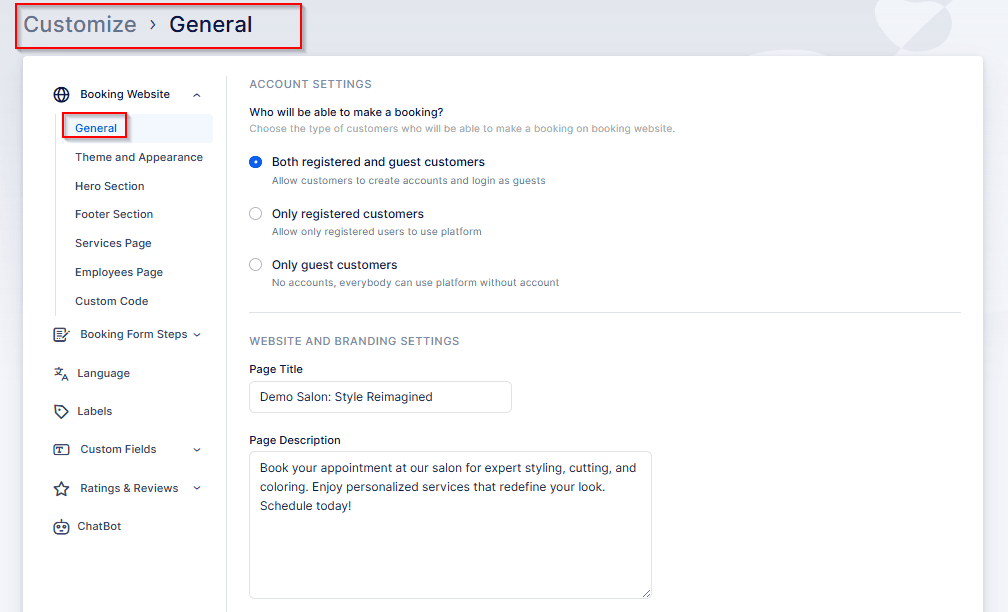
In the Customize section, under General / Account Settings, Bookablesites provides three different options that let you personalize and adjust your overall booking experience:
By enabling either of the first two options in Bookablesites, you allow your customers to create personal accounts and sign in to your booking site.
When visitors arrive at your booking page, they can click the “Login” button in the upper right corner to sign in or create a new profile. They also have the option to create an account directly from the booking form during the final step when entering their customer details.
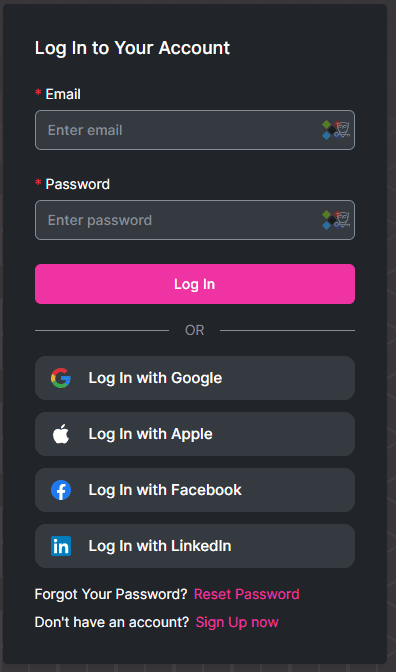
On the login screen, customers can access their accounts in several ways:
- Email and Password: Customers can sign in using the email and password they used when registering their profile.
- Social Media Login: If enabled, customers can log in through their Google, LinkedIn, or Facebook accounts linked to their Bookablesites profile.
- Registration: New users can quickly set up an account by selecting the “Register” option.
- Password Recovery: If a customer forgets their password, the “Forgot Password” link allows them to reset it easily.
Once customers log in, they are taken to the “My Bookings” tab — a personalized dashboard that shows all their scheduled appointments within a selected date range, if any exist.
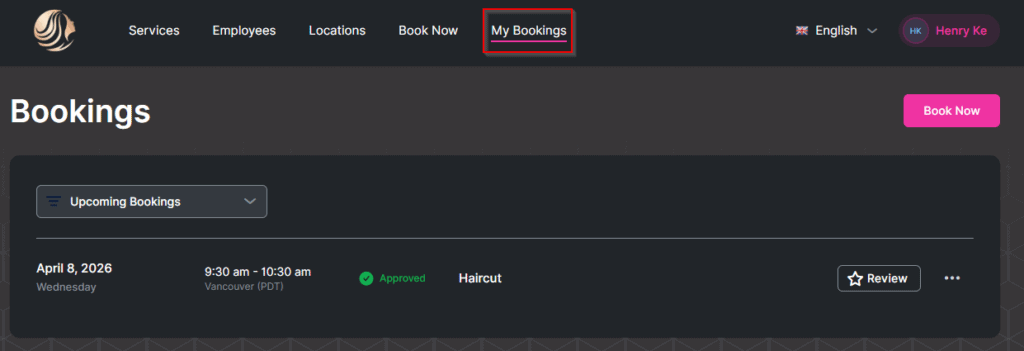
On the “My Appointments” page in Bookablesites, customers have a user-friendly interface for managing their bookings. They can apply filters to view all, past, or upcoming appointments. For virtual sessions, a Google Meet and/or Zoom icon appears beside the service name, allowing customers to join the meeting directly with a single click.
Each appointment features a three-dots menu that, when clicked, provides options to Cancel or Reschedule the booking—offering flexible schedule management.
If a customer has made a deposit or selected the On-Site payment option, and online payments are enabled in your admin settings, a “Pay” button will appear next to the appointment’s three-dots menu. Selecting “Pay” directs the customer to a payment page where they can choose from your available online payment methods to complete their transaction, ensuring an easy and streamlined process.
Clicking on any appointment opens a details panel on the right-hand side, providing all relevant appointment information. This includes the service name, and for online bookings, a Google Meet/Zoom icon or link that customers can use to join the meeting or copy for later access.
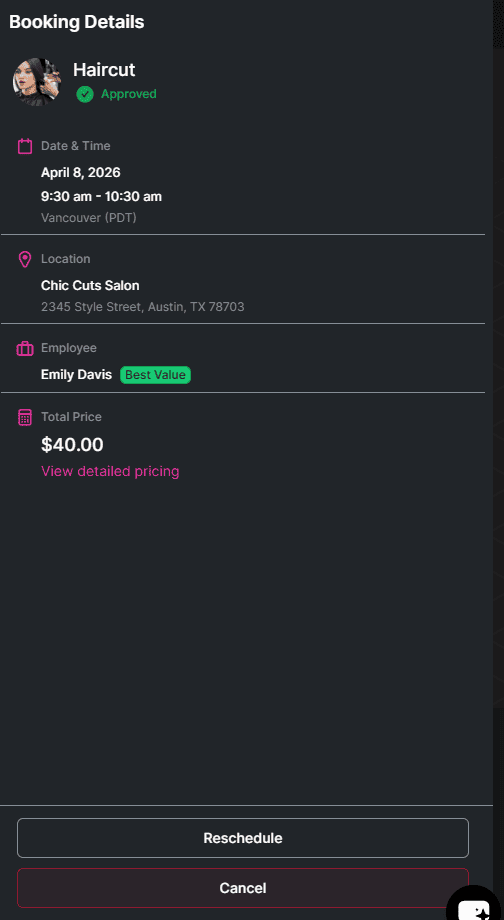
At the top right corner of the Bookablesites dashboard, customers can access their User Settings or choose to log out. The dashboard offers a clear overview of their upcoming appointments, making it simple to review and manage bookings effortlessly.
When customers select “User Settings” in Bookablesites, they’re taken to their Profile Details page. From there, they can review and update their personal information — such as their name, date of birth, and profile photo — to keep their account details current.
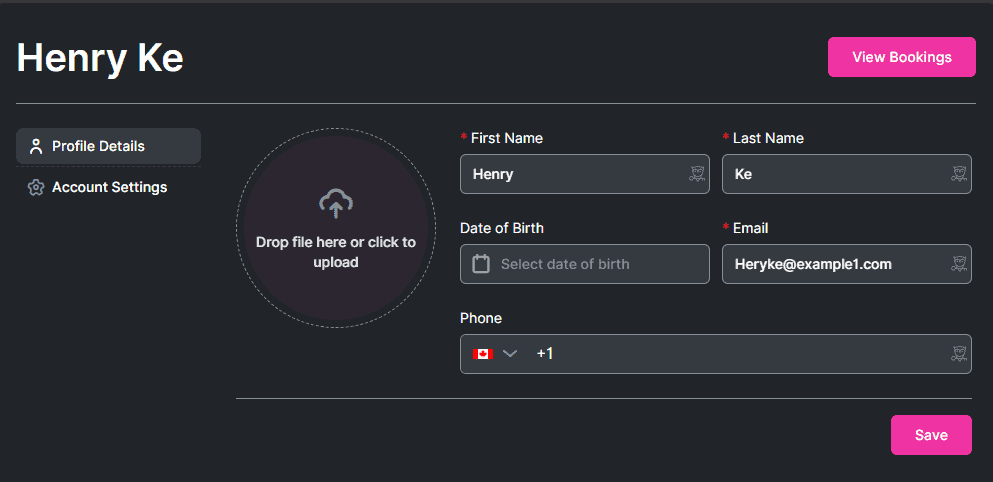
Beneath the Profile Details section in Bookablesites, customers will find the Account Settings area. In this section, they can add or modify their email address and phone number as needed. They also have the ability to permanently delete their profile if they wish. This functionality supports data privacy compliance and ensures that customers maintain full control over their personal information.
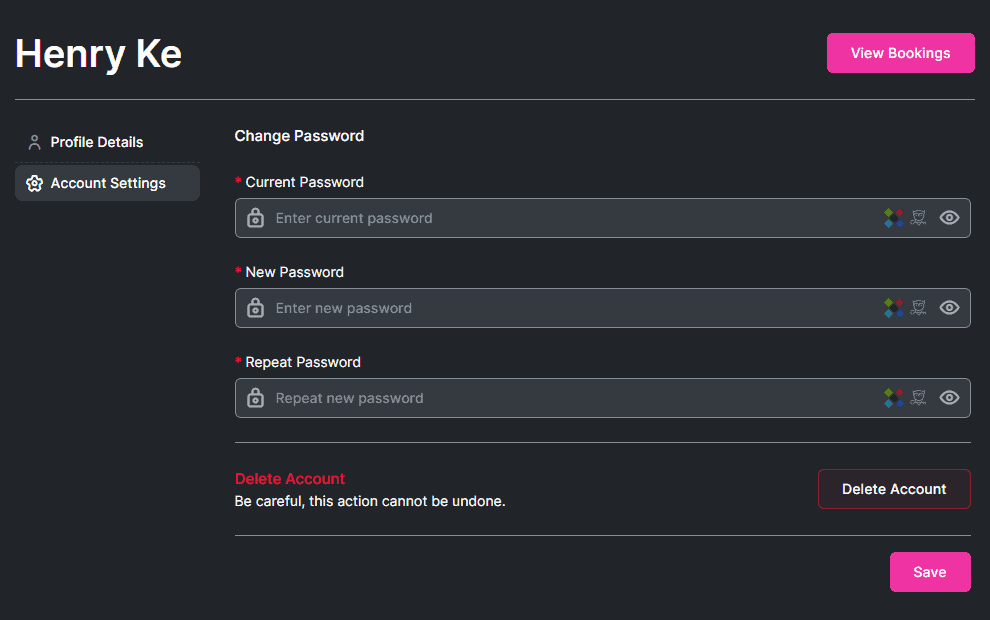
The final tab within User Settings in Bookablesites is the “Change Password” section. From here, customers can update their passwords to strengthen account protection. This option makes it simple for users to manage and maintain the security of their profiles.